

Attach the jumper cables for the LEDs to the 8-pin connection as shown above. Their orientation does not matter, though for consistency you should orient them the same way. Pay attention to the markings underneath the header, which have the labels "R", "G", and "B" for "red", "green", and "blue" color channels, as well as a filled-in white region indicating the ground (-) pin for the LEDs. You will want to remember which color wire corresponds to the ground pins for later.

Thread the jumper cables one after another through the slit you prepared earlier.

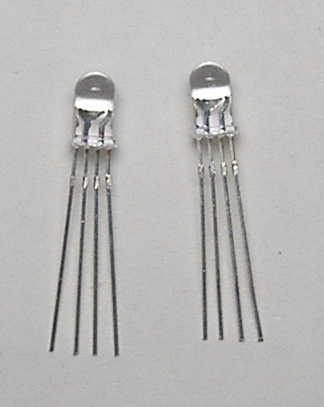
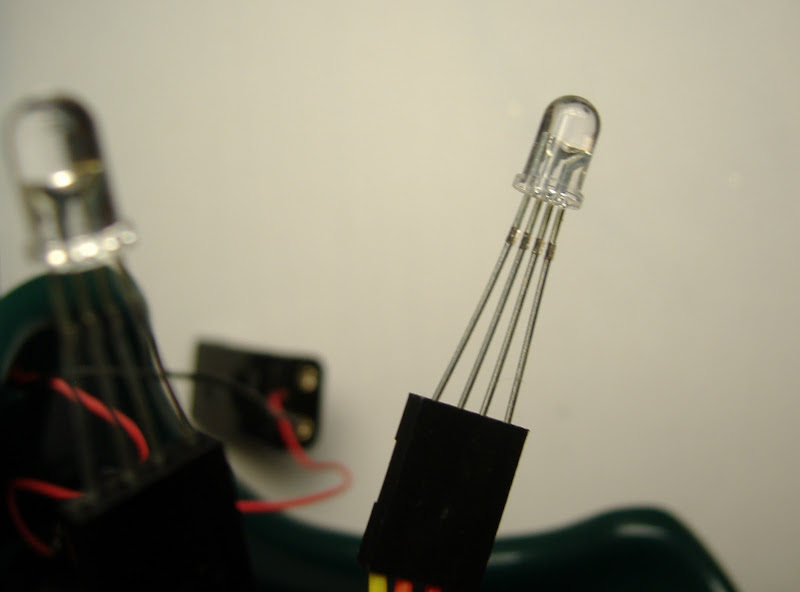
The inside of the goggles should now look something like this. Next we're going to insert the colored LEDs into the viewing area. These are the LEDs with four leads. In order, these leads are R(ground)GB. Examine the RGB LEDs closely. Like the indicator LEDs, one side of the plastic housing is flat on the bottom. As before, this indicates the side of the LED with the ground lead. You will want to insert the LEDs into the jumper cables such that the ground lead of the LED matches up with whicever color wire is the ground wire, which was noted in the previous step. You may optionally want to trim the LED leads to all the same length to make inserting the LEDs into the jumpers easier, or to adjust the spacing between the LEDs.


Turn on the goggles and test that the RGB LEDs are working. The first pattern on the goggles is a white flickering stimulus. If either LED does not appear white, you may have some missed connections. Try adjuting the LEDs and trimming the leads slightly if you are not getting a connection. If that fails, check that the jumpers are placed securely on the board header, and that the board header is soldered completely. If all color channels of both LEDs are working, turn of the goggles and proceed.

Now, glue the LEDs in place as indicated by the etched markings, and as demonstrated here. Either super glue or hot glue will work. I found the gluing the ends of the jumpers together with a bit of super glue first made positioning easier. You may want to tack down the LED wires as shown to keep them in place.

Insert the inner translucent plastic piece, feeding the wires out through the notch provided.


Your goggles are nearly complete! The only thing left to do is to tie down some loose ends and hold everything in place.

This completes phase V.
Project Stages:
- The Visor
- Phase I : The Board
- Phase II : The Optics
- Phase III : Holes
- Phase IV : Power
- Phase V : Light
- Phase VI : Finish and Play
- Usage Notes